Custom Bracket Manufacturing: From Sketch to Finished Part
By Adil, Managing Director at AMN Engineering · · 6 min read
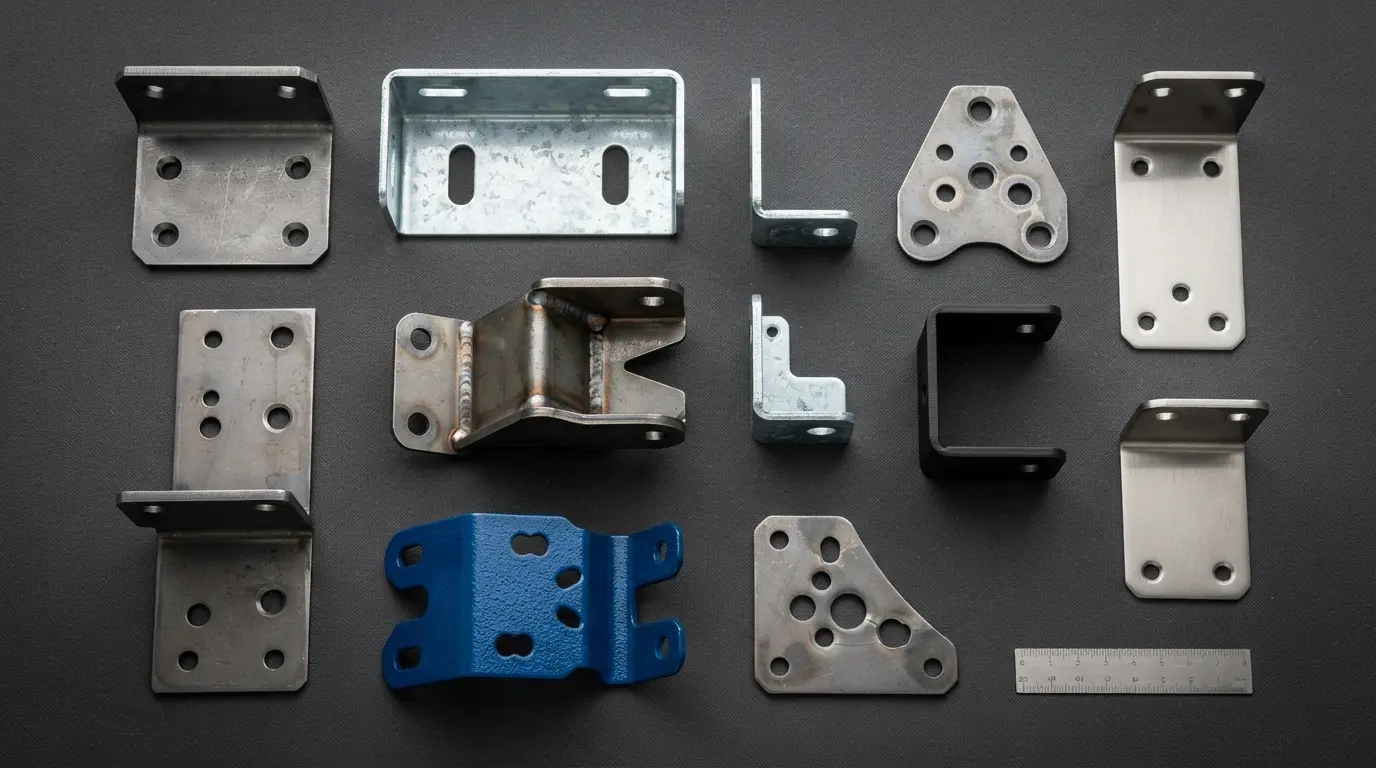
Brackets are among the most commonly manufactured custom parts in the world. Every machine, structure, vehicle, and piece of equipment uses brackets to mount, support, connect, or hold components in place.
Despite being "simple" parts, brackets involve multiple manufacturing processes: laser cutting, bending, welding, drilling, threading, and finishing. Getting a bracket right requires understanding how these processes interact.
This guide walks through the entire process of manufacturing a custom bracket from the first sketch to the finished part in your hands. We make thousands of custom brackets annually at AMN Engineering for applications ranging from simple wall mounts to complex structural assemblies.
What Is a Custom Bracket?
A custom bracket is any metal part designed specifically for your application that mounts, supports, connects, or holds other components. Unlike off the shelf brackets from a hardware store, custom brackets are manufactured to your exact dimensions, hole patterns, material, and finish requirements.
Common examples: motor mounting brackets, electrical panel mounts, pipe support brackets, machinery guards, structural gussets, equipment feet, cable tray supports, sensor mounts, and frame connectors.
The Manufacturing Process: Step by Step
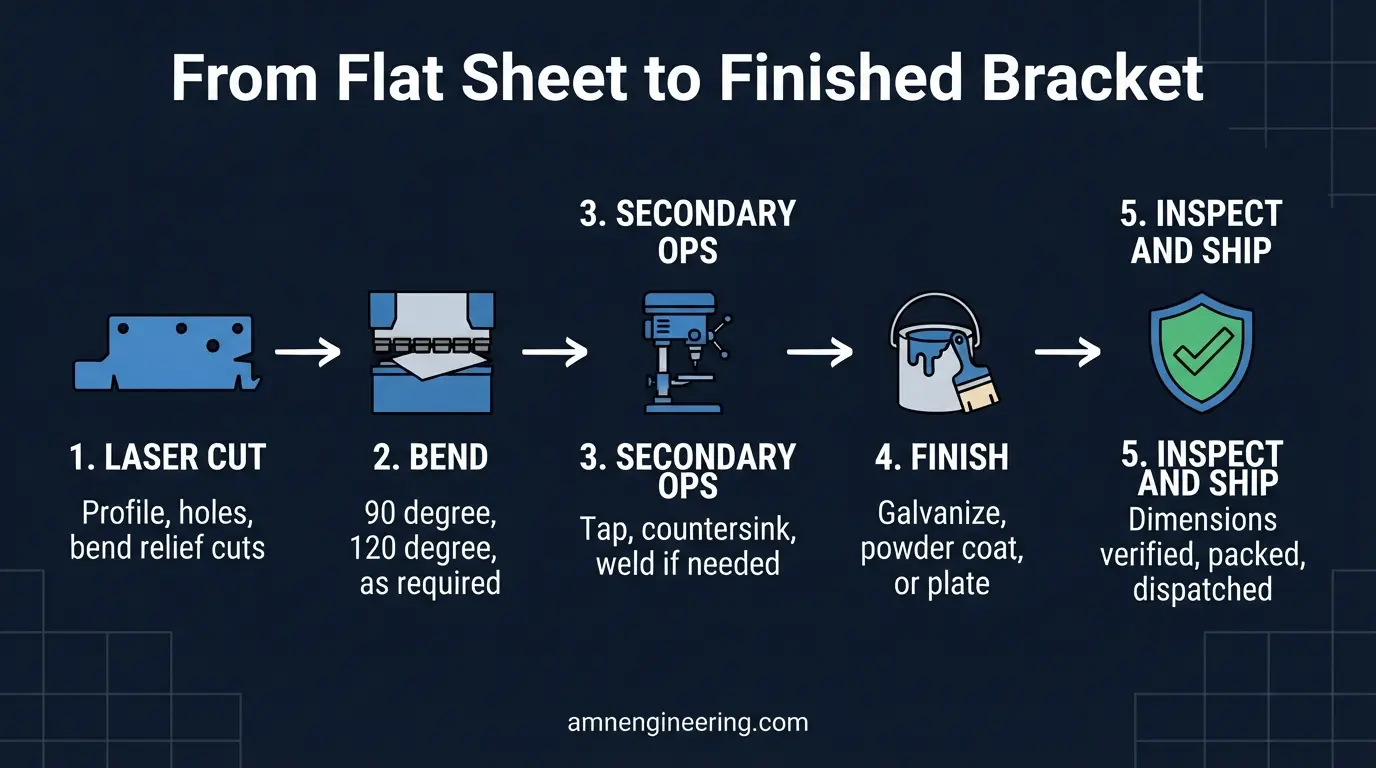
Step 1: Laser Cut the Flat Blank
The bracket starts as a flat sheet of metal. The 2D profile (outline, holes, slots) is laser cut from a DXF file. This includes all holes, slots, cutouts, and bend relief cuts.
Step 2: Bend on Press Brake
The flat blank is placed in a press brake and bent to the required angles. Bend tolerances are typically plus or minus 1 degree on angle and plus or minus 0.2mm on bend position. Bend sequence matters: some bends must happen before others to avoid interference with the press brake tooling.
Step 3: Secondary Operations
Depending on the design:
- Threading: Tapped holes for bolts (M6, M8, M10 etc.)
- Countersinking: Holes for flush mount screws
- Welding: Multiple pieces welded together for complex brackets
- CNC machining: Precise bore or location features after bending
Step 4: Finishing
The bracket receives its specified finish:
- Hot dip galvanized: For outdoor or corrosive environments
- Powder coated: For colored, visible applications
- Zinc plated: For indoor, small brackets
- Raw (unfinished): For brackets that will be painted after installation
Step 5: Inspection and Shipping
Dimensions are verified against the drawing. Material test certificates are prepared if specified. Parts are packed and shipped.
Common Bracket Types and Their Processes
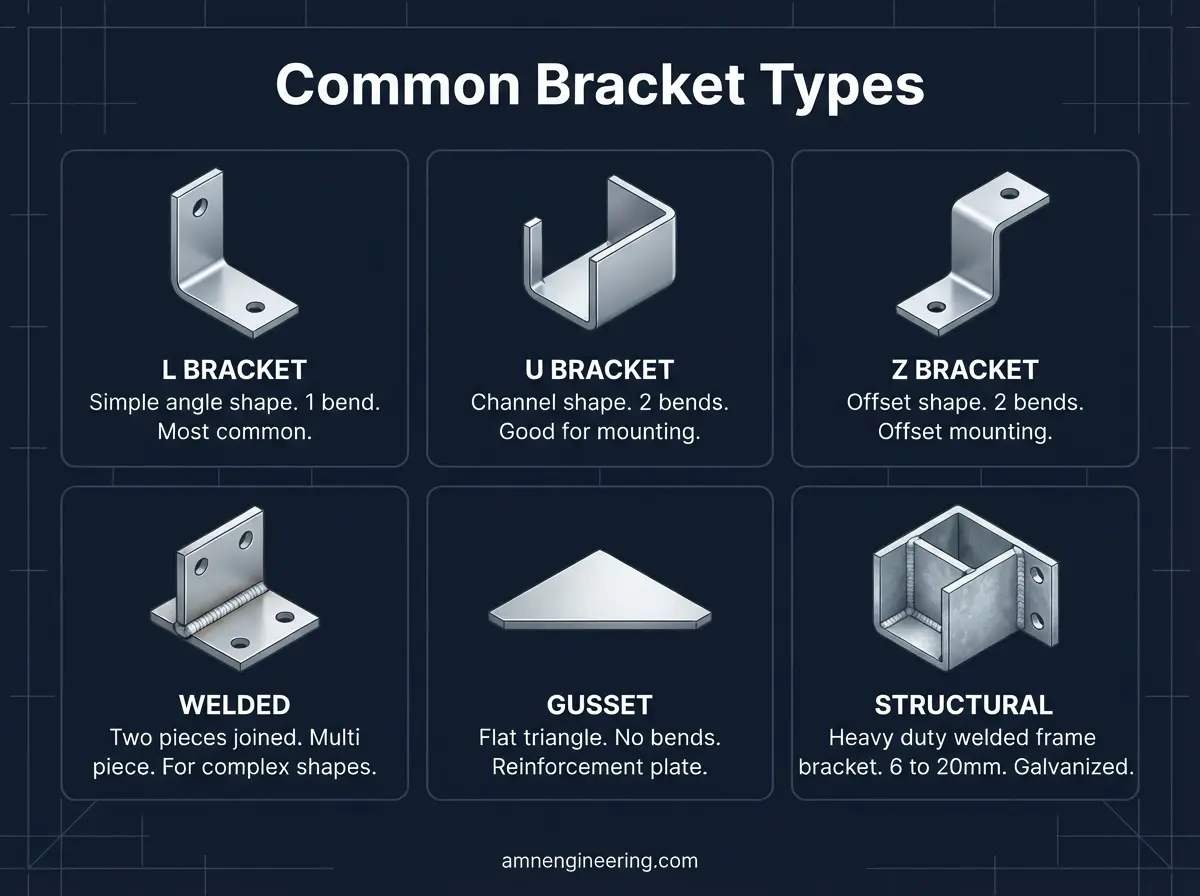
| Bracket Type | Processes Used | Typical Material | Typical Thickness |
|---|---|---|---|
| L bracket (simple angle) | Laser cut + bend | Mild steel | 2 to 5mm |
| U bracket (channel shape) | Laser cut + 2 bends | Mild steel, SS304 | 2 to 4mm |
| Z bracket (offset mount) | Laser cut + 2 bends | Mild steel | 2 to 6mm |
| Welded bracket (multi piece) | Laser cut + weld + finish | Mild steel | 3 to 10mm |
| Gusset (triangular reinforcement) | Laser cut only (flat) | Mild steel | 4 to 10mm |
| Structural bracket (heavy duty) | Laser or plasma cut + weld + galvanize | Mild steel | 6 to 20mm |
What to Include on Your Bracket Drawing
A good bracket drawing or RFQ includes:
- Overall dimensions after bending (not just flat pattern)
- Hole positions from a clear datum (corner or centerline)
- Hole sizes and types (through hole, tapped, countersunk)
- Bend angles and direction (which way the flanges go)
- Inside bend radius (or state "manufacturer standard")
- Material and thickness (e.g., 3mm mild steel, SS304)
- Finish (galvanized, powder coated RAL number, zinc plated, none)
- Quantity and whether this is a repeat order
- Tolerances on critical dimensions (or state general tolerance)
Tip: Provide both a flat pattern DXF (for laser cutting) and a 3D model or dimensioned bent view (for bending verification). Read more: How to Prepare CAD Files.
Materials for Brackets
| Material | When to Use | Cost (Relative) |
|---|---|---|
| Mild steel | General purpose, structural, will be coated | 1x (cheapest) |
| Galvanized sheet | Pre galvanized for indoor light duty | 1.2x |
| SS304 | Corrosive, food grade, visible stainless | 3 to 4x |
| Aluminum 5052 | Lightweight, corrosion resistant, easy to bend | 2x |
| Aluminum 6061 T6 | Stronger aluminum, harder to bend (cracks easier) | 2.5x |
For most industrial brackets, mild steel with hot dip galvanizing or powder coating is the best value. Stainless steel is used when the bracket is in a corrosive, food contact, or visible architectural application.
Cost Factors
What determines the cost of a custom bracket:
Material type and thickness. SS304 costs 3 to 4 times more than mild steel. Thicker material costs more and takes longer to cut and bend.
Number of bends. Each bend is a separate press brake operation. More bends means more setup time and higher cost.
Welding. If multiple pieces are welded together, labor and skill are added. TIG welding on stainless costs more than MIG on mild steel.
Finishing. Galvanizing adds cost but provides decades of protection. Powder coating adds cost but provides color and appearance.
Quantity. Setup cost is spread across more parts at higher volumes. A single bracket might cost $15. The same bracket at 500 pieces might cost $3 each.
Complexity. More holes, tighter tolerances, and additional operations (tapping, countersinking, CNC machining) add cost.
Frequently Asked Questions
Yes. A dimensioned sketch with hole positions, bend angles, material, and thickness is enough to quote and manufacture simple brackets. For complex brackets, a CAD file is better.
At AMN Engineering, there is no minimum. We make single prototypes as well as batches of 10,000 or more.
1 to 2 weeks for simple laser cut and bent brackets. 2 to 3 weeks for welded brackets with finishing (galvanizing or powder coating).
Usually two simple brackets. Each simple bracket uses fewer bends and no welding, and bolting them together is faster than welding. But if the assembly needs the rigidity of a one piece welded bracket, the welded version is worth the extra cost.