Designing for Weldability: 7 Tips That Reduce Fabrication Costs
By Adil, Managing Director at AMN Engineering · · 6 min read
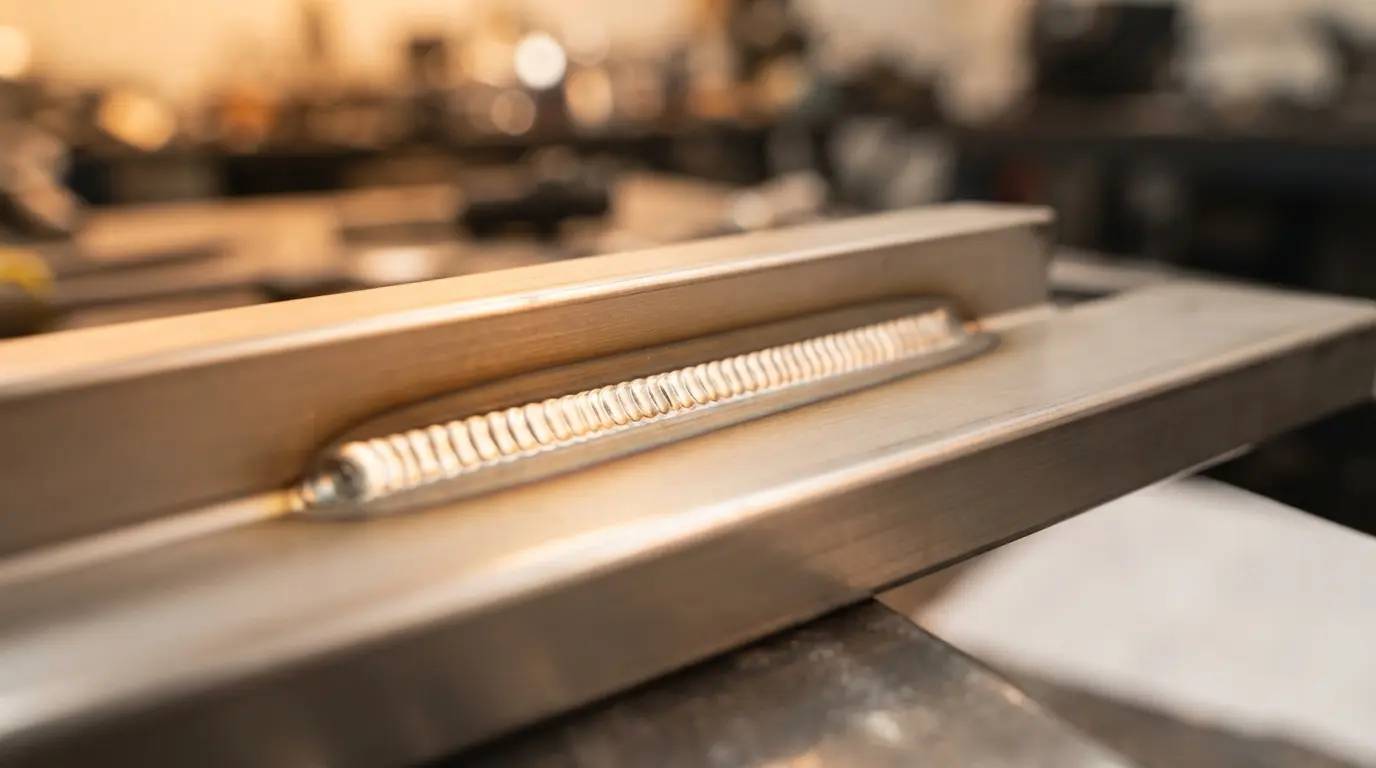
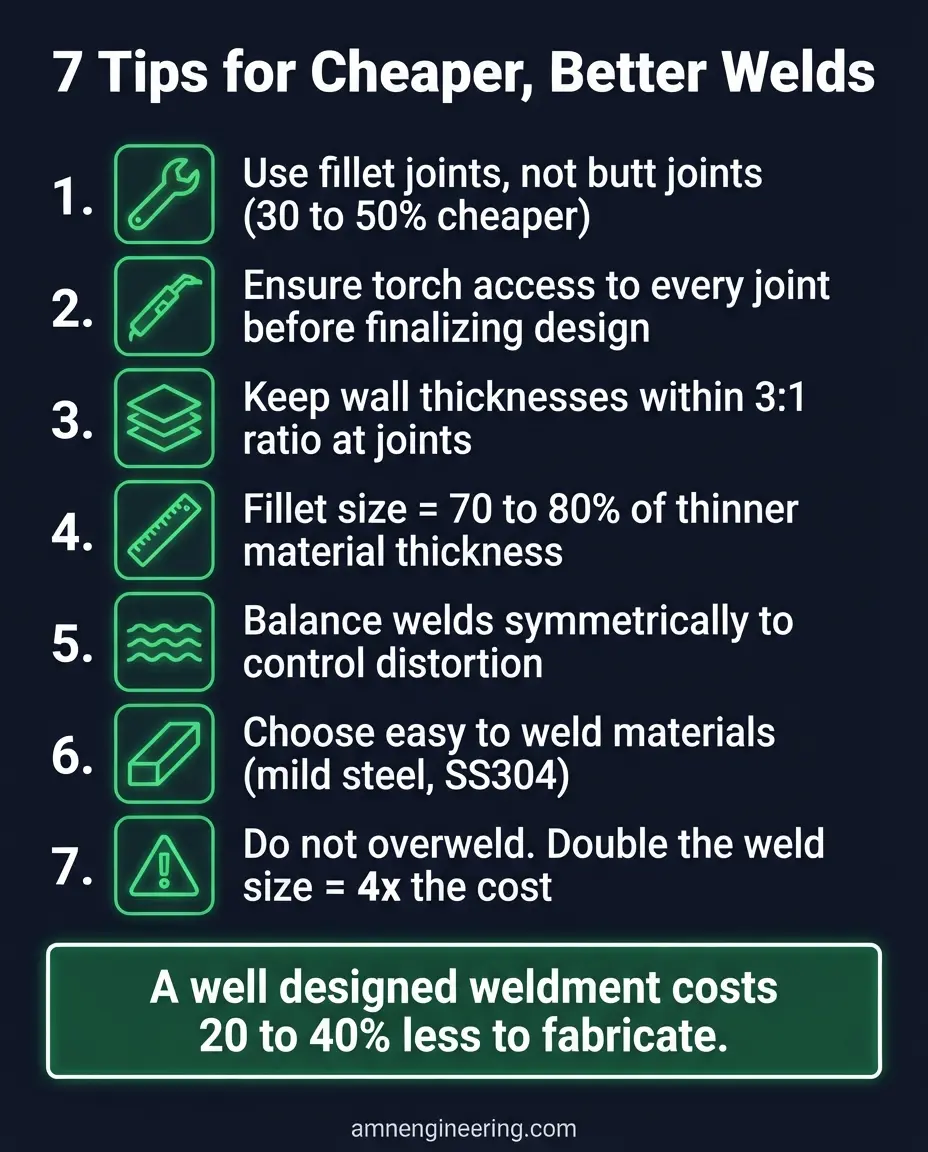
A well designed weldment costs 20 to 40 percent less to fabricate than a poorly designed one. The difference is not in the material or the welding process. It is in the design decisions made before the drawing reaches the fabrication shop.
These 7 tips come from 25 years of building welded assemblies at AMN Engineering. Every tip addresses a real design problem that we see repeatedly on drawings from engineers who understand their product but have not spent time on the shop floor watching parts being welded.
Why Design for Weldability Matters
Welding is typically 30 to 50 percent of the total cost of a fabricated assembly. The design determines how long each weld takes, how many passes are needed, whether distortion will be a problem, and whether rework will be required.
A designer who understands weldability can reduce fabrication cost significantly without compromising the function or strength of the assembly.
Tip 1: Choose the Right Joint Type
Butt Joints
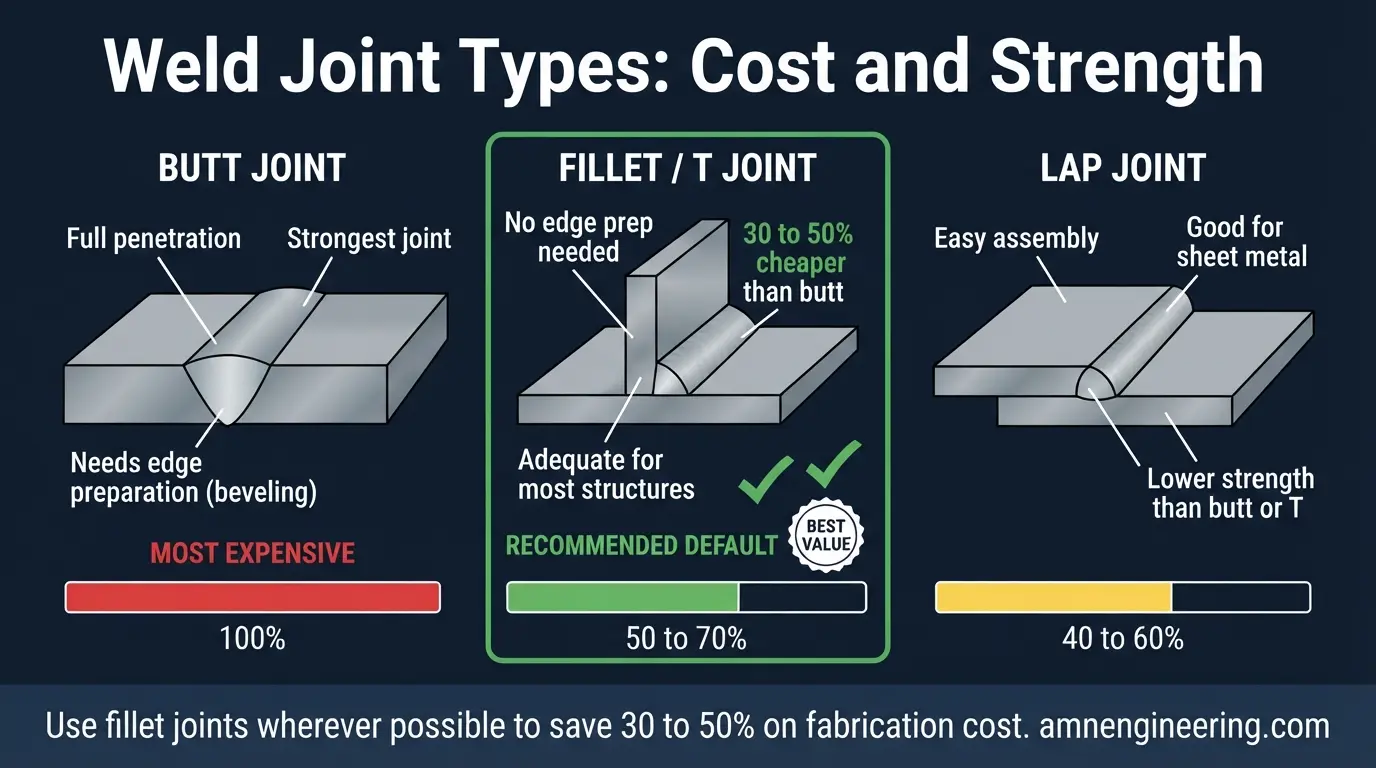
Two pieces joined end to end. Strongest joint. Requires edge preparation (beveling) for material over 6mm thick. Full penetration butt welds are the strongest but most expensive.
Fillet Joints (T and Lap)
One piece welded to the surface of another. No edge preparation needed. Faster and cheaper than butt joints. Adequate strength for most structural applications.
Corner Joints
Two pieces meeting at a corner. Can be welded from outside, inside, or both.
Rule: Use fillet joints wherever possible. They are 30 to 50 percent cheaper than butt joints because they need no edge preparation and are faster to weld. Only specify butt joints when full penetration is required for strength or code compliance.
Tip 2: Ensure Torch Access
The welder needs physical access to the joint with the welding torch. If the torch cannot reach the joint, the welder must use awkward positions, shorter electrode stickout, or skip the weld entirely and add it from the other side.
Common Access Problems
- Internal corners less than 30mm from an adjacent wall
- Joints inside narrow channels or tubes
- Welds required on the inside of a closed box section (impossible after assembly)
- Multiple welds close together with no room for the torch between them
The Fix
Before finalizing your design, ask: "Can a welder physically reach every weld joint with a TIG or MIG torch?" If not, modify the geometry or change the assembly sequence so that welds are accessible before closing the structure.
Tip 3: Keep Wall Thicknesses Compatible
Welding a 2mm sheet to a 20mm plate creates problems. The thin material overheats, distorts, and can burn through, while the thick material barely reaches welding temperature.
Guidelines
- Keep the thickness ratio of joined parts within 3:1 (e.g., 3mm to 9mm is fine, 2mm to 20mm is not)
- If thickness mismatch is unavoidable, taper the thicker part to transition gradually
- For very thin to thick joints, consider mechanical fastening (bolts, rivets) instead of welding
Tip 4: Use Standard Weld Sizes
Specify fillet weld leg sizes that are standard for the material thickness:
| Material Thickness | Standard Fillet Weld Size |
|---|---|
| 3mm | 3mm fillet |
| 5mm | 4mm fillet |
| 6mm | 5mm fillet |
| 8mm to 10mm | 6mm fillet |
| 12mm+ | 8mm fillet |
Rule of thumb: Fillet weld leg size should be approximately 70 to 80 percent of the thinner material thickness. A 6mm fillet on a 3mm plate is overkill and will cause distortion from excessive heat input.
Tip 5: Control Distortion Through Design
Welding heat causes metal to expand and contract, pulling the assembly out of shape (distortion). The more welding on an assembly, the more distortion.
Design Strategies to Reduce Distortion
Minimize weld volume. Smaller welds generate less heat and less distortion. Do not overweld (see Tip 7).
Balance welds. Place welds symmetrically around the neutral axis of the assembly. If you weld only on one side of a plate, it will bow toward the welded side.
Use intermittent welds. Instead of a continuous fillet weld along a full length, specify intermittent (stitch) welds: "5mm fillet, 50mm long, 100mm pitch." This reduces heat input by roughly half while maintaining adequate strength for most applications.
Design for tack welding and sequencing. A fabricator who tack welds the entire assembly first and then completes the welds in a planned sequence will produce less distortion than one who welds each joint completely before moving on.
Tip 6: Specify the Right Material
Some steels weld easily. Others require preheating, post weld heat treatment, and special consumables. This affects cost significantly.
Easy to Weld
- Mild steel (up to 0.25% carbon)
- EN8 (weldable with preheat above 12mm thickness)
- SS304 (excellent weldability with TIG)
Harder to Weld (Higher Cost)
- EN24 (requires preheat 200 to 300 degrees C and controlled cooling)
- High carbon steels (above 0.45% carbon, risk of cracking)
- Dissimilar metals (e.g., stainless to carbon steel, requires special consumables)
If your design allows, choose materials that weld easily. If EN24 is needed for strength, consider forging the part instead of welding a fabrication.
Tip 7: Do Not Overweld
The most expensive design mistake in fabrication is overspecifying weld size and length. A 10mm fillet weld where a 5mm fillet would have been adequate costs roughly 4 times more (weld volume scales with the square of the leg length) and generates 4 times more distortion.
How to Right Size Your Welds
Calculate the required weld size based on the applied loads, not the material thickness. A bracket that carries 500 kg does not need the same weld as a pressure vessel.
If you are not sure, specify "weld per fabricator's recommendation" and let the experienced fabricators at the shop size the weld appropriately. Good fabricators know what is adequate. They do not want to overweld either because it wastes their time and consumables.
Frequently Asked Questions
20 to 40 percent of total fabrication cost. The savings come from fewer weld passes, less distortion correction, less rework, and simpler assembly sequences.
Fillet joints are 30 to 50 percent cheaper than butt joints because they need no edge preparation and are faster to weld.
Minimize weld volume, balance welds symmetrically, use intermittent welds where possible, and specify correct weld sequence.
For structural and safety critical welds, yes. Use standard weld symbols per AWS A2.4 or ISO 2553. For non critical brackets and attachments, "weld per fabricator" is acceptable.