How to Specify the Right Conduit Size for Your Electrical Installation
By Adil, Managing Director at AMN Engineering · · 6 min read
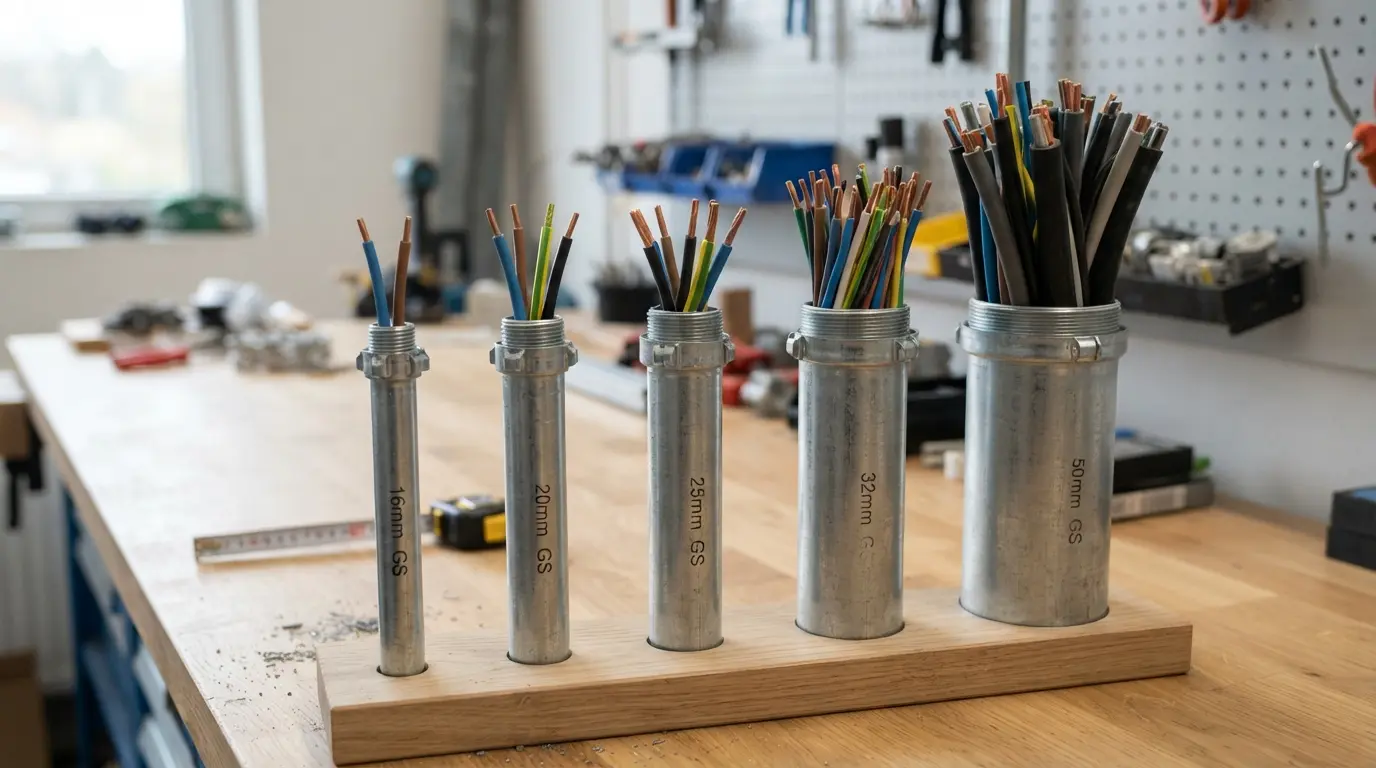
Choosing the right conduit size is one of the first decisions in any electrical installation. Too small and you cannot pull the cables through. Too large and you waste money on oversized conduit, fittings, and mounting hardware.
This guide explains how to select the correct conduit size for your cables, with a quick reference table for common configurations so you do not need to calculate every time.
Standard Conduit Sizes
BS 31 Standard Sizes
| Nominal Size | Approximate Outside Diameter | Approximate Inside Diameter |
|---|---|---|
| 16mm | 16mm OD | 12.5mm ID |
| 20mm | 20mm OD | 16.5mm ID |
| 25mm | 25mm OD | 21.5mm ID |
| 32mm | 32mm OD | 27.5mm ID |
| 40mm | 40mm OD | 35mm ID |
| 50mm | 50mm OD | 43mm ID |
The "nominal size" is a trade designation, not an exact measurement. Actual dimensions vary slightly by manufacturer and class (3 or 4) because Class 4 has thicker walls.
The Cable Fill Rule
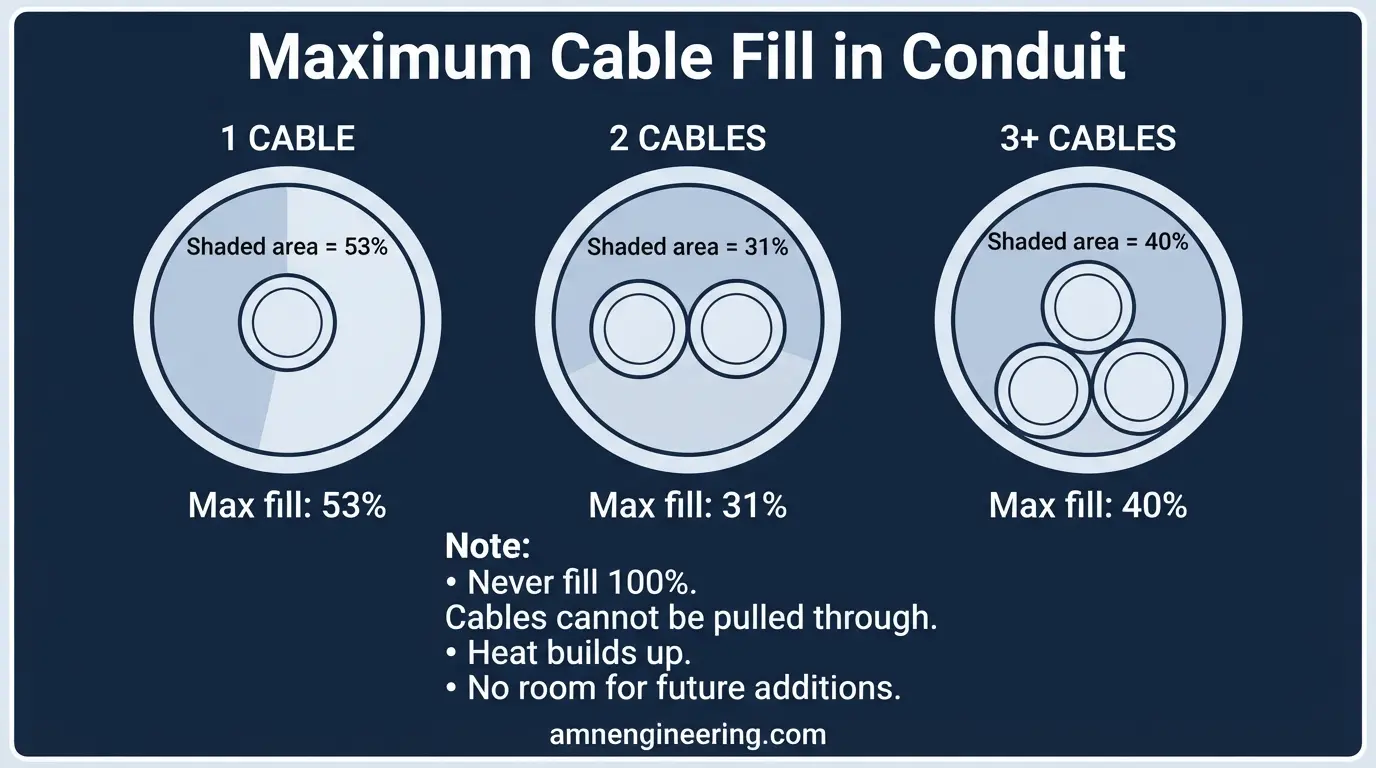
Electrical codes limit how full a conduit can be with cables. This ensures cables can be pulled through without damage and allows heat to dissipate during operation.
Maximum Fill Ratios
| Number of Cables | Maximum Conduit Fill |
|---|---|
| 1 cable | 53% of conduit cross section |
| 2 cables | 31% of conduit cross section |
| 3 or more cables | 40% of conduit cross section |
These values come from BS 7671 (IET Wiring Regulations) and similar codes. The reason for different percentages: with 1 cable, the cable can sit anywhere inside the conduit. With 2 cables, they jam against each other. With 3 or more, they arrange more efficiently.
Why Not 100%?
If you fill the conduit completely, you cannot pull the cables through (too much friction). You also trap heat, which degrades insulation. And future maintenance (pulling out damaged cables, adding new ones) becomes impossible.
Quick Reference: Common Cable Configurations
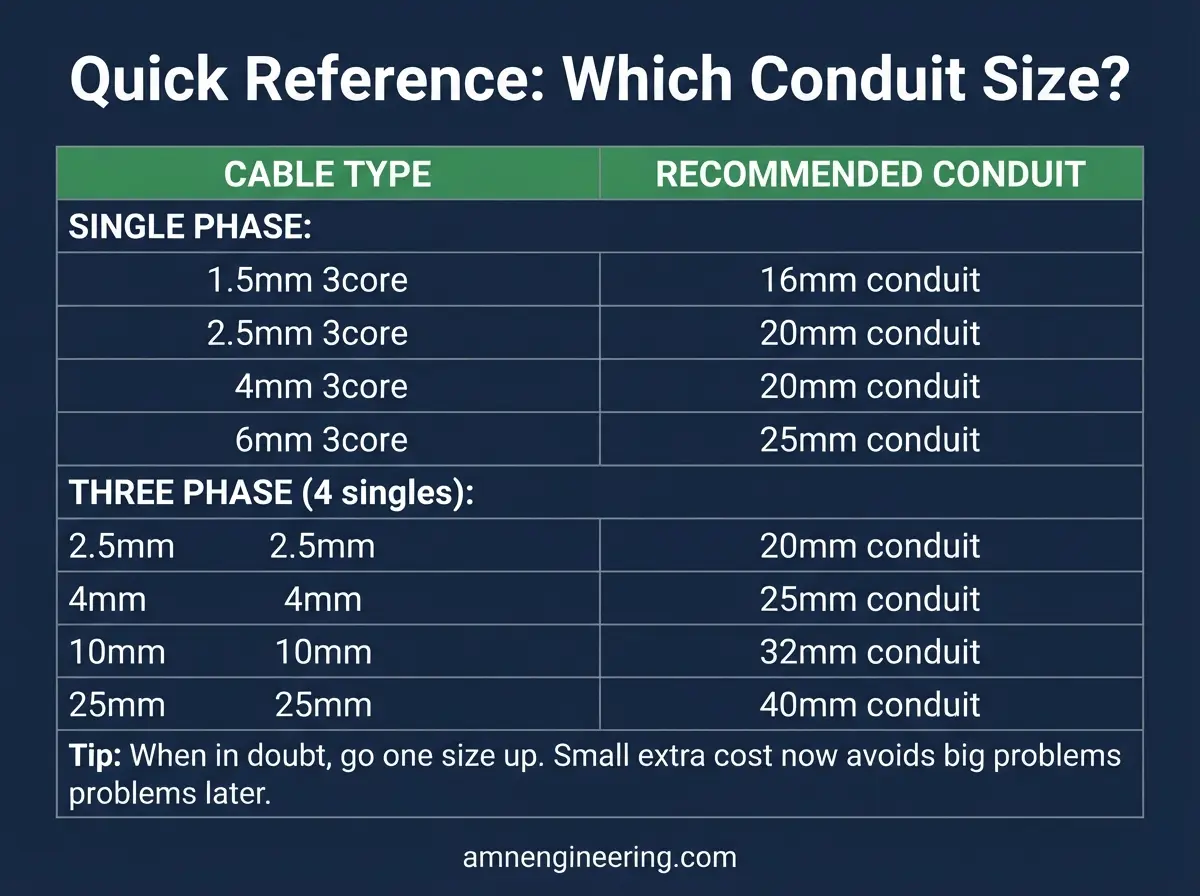
Here are pre calculated conduit sizes for common cable configurations used in commercial and industrial installations:
Single Phase Circuits
| Cable Size | Number of Cores | Recommended Conduit |
|---|---|---|
| 1.5 sq mm | 3 core | 16mm |
| 2.5 sq mm | 3 core | 20mm |
| 4 sq mm | 3 core | 20mm |
| 6 sq mm | 3 core | 25mm |
| 10 sq mm | 3 core | 25mm |
Three Phase Circuits
| Cable Size | Number of Cables (4 singles) | Recommended Conduit |
|---|---|---|
| 1.5 sq mm | 4 singles | 20mm |
| 2.5 sq mm | 4 singles | 20mm |
| 4 sq mm | 4 singles | 25mm |
| 6 sq mm | 4 singles | 25mm |
| 10 sq mm | 4 singles | 32mm |
| 16 sq mm | 4 singles | 32mm |
| 25 sq mm | 4 singles | 40mm |
Multiple Circuits in One Conduit
When running multiple circuits in the same conduit, add up the cable cross sections and apply the 40% fill rule. Remember that derating factors apply when multiple circuits share a conduit (cables run hotter, so their current carrying capacity is reduced).
Factors That Affect Conduit Size Selection
Number and Length of Bends
Every bend in a conduit run increases pulling friction. Long runs with multiple bends need larger conduit to ensure cables can be pulled through without exceeding pulling tension limits. The general rule: no more than two 90 degree bends between pull points (junction boxes).
Future Expansion
If additional cables may be needed in the future, specify one size larger than the minimum. The small extra cost now avoids the major cost of installing new conduit runs later.
Cable Type
Armored cables, fire resistant cables, and data cables have different outside diameters than standard PVC insulated cables. Always check the actual cable diameter from the manufacturer's data sheet rather than assuming.
Conduit Route
Horizontal runs through accessible ceilings are easier to pull through than vertical risers or runs through walls. Difficult routes may benefit from one size larger conduit to reduce pulling effort.
Oversizing vs Undersizing
Undersizing Problems
- Cables cannot be pulled through
- Cable insulation damaged during pulling (leading to future failures)
- Excessive heat buildup (derating required)
- No room for future additions
- Code violation (exceeding maximum fill)
Oversizing Problems
- Higher material cost (conduit, fittings, saddles all cost more in larger sizes)
- More mounting hardware needed (heavier conduit requires more support)
- Wasted space in cable trays and risers
- Aesthetic issues in exposed installations
The Right Approach
Calculate the required size based on cable fill rules. Then go one size up if: the run is longer than 15 meters, there are more than 2 bends, or future expansion is likely. One size up adds minimal cost but significantly eases installation and future flexibility.
Frequently Asked Questions
Calculate the total cross sectional area of all cables, apply the maximum fill percentage (40% for 3 or more cables), and select the conduit with sufficient internal area. Use the quick reference table above for common configurations.
40% of the conduit cross section for 3 or more cables, 31% for 2 cables, 53% for 1 cable per BS 7671.
Yes, but derating factors apply (cables share heat). The conduit must be sized for all cables combined at 40% fill. Check derating tables in BS 7671.
For long runs (over 15 meters), runs with multiple bends, or installations where future expansion is likely, going one size up is good practice. The small extra cost avoids major problems later.